
Table of Contents
If you’ve ever planted flowers or vegetables only to watch them struggle in hard, unyielding soil, you’re not alone. Many new gardeners assume that bagged soil or a quick pass with a tiller is enough to prepare their beds. In reality, healthy plants start with healthy, well-aerated soil and one of the most affordable, beginner-friendly ways to achieve that is to till soil by hand.
Hand tilling is an age-old practice that gives you control over your garden’s foundation. It’s gentler on the soil ecosystem than heavy machinery, and it sets the stage for strong roots, better nutrient absorption, and more resilient plants. In this guide, you’ll learn exactly how to till soil by hand, why it works, and how to make the process easier and more effective.
Compacted Soil Stifles Plant Growth
When soil becomes compacted, its particles are pressed tightly together. This squeezes out the tiny air pockets that roots need to breathe and blocks water from moving freely into the ground. Even when you water diligently or add fertilizer, compacted soil keeps nutrients locked up, leaving plants weak and prone to pests or disease.
Machine tilling can sometimes make compaction worse. The weight of the machine compresses the subsoil, creating a “hardpan” layer just below the surface. Over time, this restricts roots even more, causing poor drainage and poor yields.
Why This Hurts Your Garden
Compacted soil also makes gardening more frustrating. You’ll notice puddles forming after rain, water running off instead of soaking in, and weeds taking over bare patches. Beginners often try to solve the problem with more fertilizer or by watering more often — but without addressing the soil structure, these fixes only go so far.
This is why many experienced gardeners return to traditional methods like hand tilling or double digging. It’s slower than running a rototiller, but it solves the underlying problem by loosening and aerating the soil at root depth.
Solution: Till Soil by Hand to Revive Your Garden Bed
Hand tilling gives you a chance to rebuild your soil from the ground up. By physically loosening and turning the soil yourself, you can break up compaction, add organic matter, and protect beneficial organisms like earthworms and mycorrhizal fungi. With the right tools and a simple process, even beginners can transform a patch of hard ground into a soft, fertile bed ready for planting.
Step-by-Step Guide: How to Till Soil by Hand
1. Test Your Soil Before You Till Soil by Hand
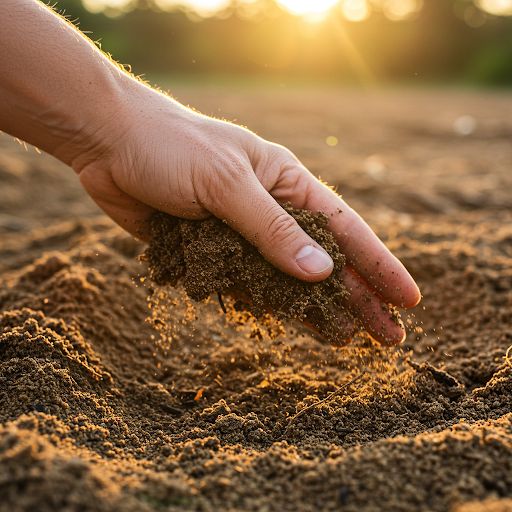
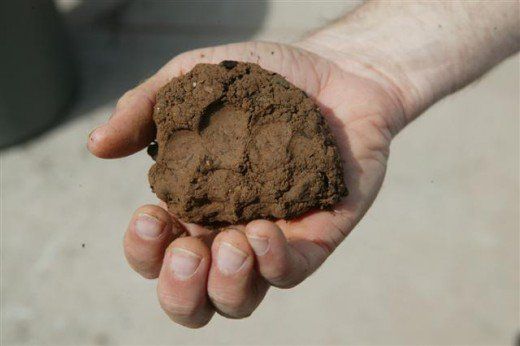
Before you start digging, check whether your soil is at the right moisture level. Scoop up a handful and squeeze it into a ball. If it crumbles easily when you press it with your thumb, it’s ready. If it stays clumped or oozes water, it’s too wet; wait a few days. Tilling soil that’s too wet creates large clods and can compact it further.
2. Clear the Area Before Tilling Soil by Hand
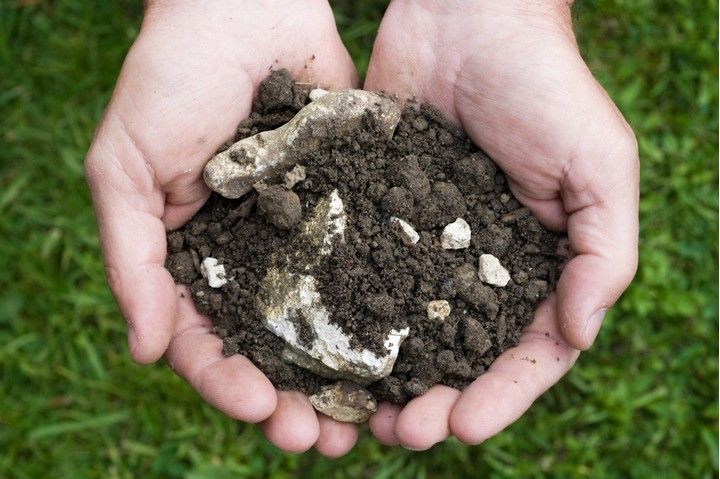
Remove weeds, large roots, rocks, and debris from the bed. You can do this by hand or with a simple hoe or hand rake. Starting with a clean surface makes digging easier and prevents weeds from re-rooting in your freshly tilled soil. Once cleared, rake the surface lightly to level it.
3. Dig Trenches Along One Edge of the Garden Bed
Choose one edge of the bed as your starting point. Using a spade or shovel, dig a trench about 8–10 inches deep and one spade’s width wide. Place the soil you remove in a wheelbarrow or on a tarp to use later. This first trench will create space to move soil as you work across the bed.
4. Loosen and Break Up Soil Clumps by Hand
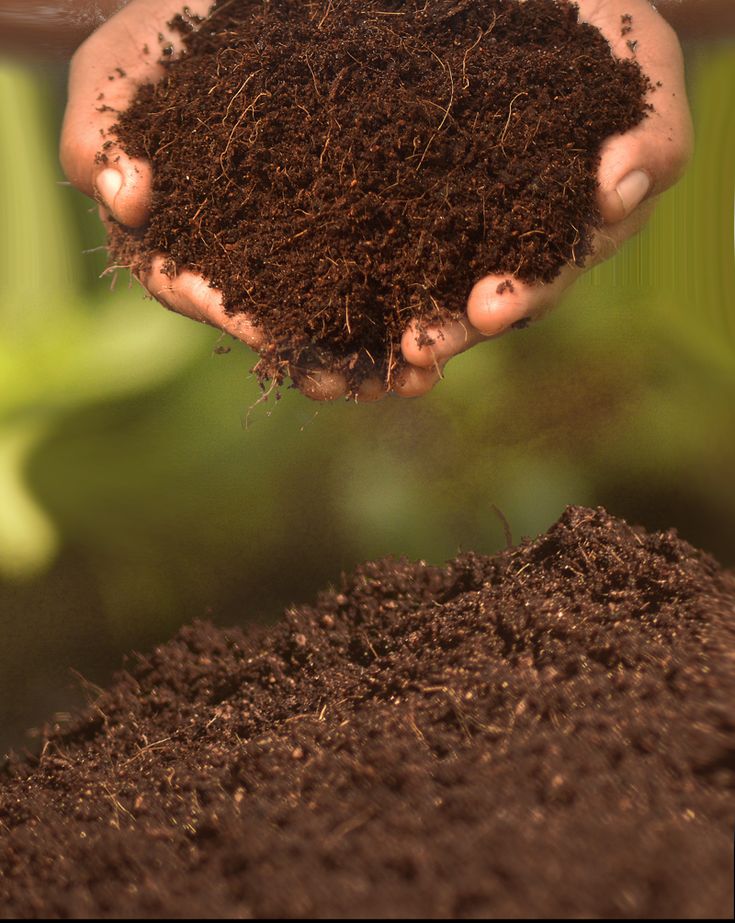
With the first trench open, use a digging fork or spade to loosen the exposed subsoil to a depth of 10–12 inches. Break up any clods, remove stones, and mix in compost or aged manure if desired. This step improves drainage and creates a softer, richer root zone.
5. Use the Double-Digging Technique to Till Soil by Hand
Move to the next section of the bed. Dig a second trench right next to the first, moving the soil from the second trench into the first trench you dug. Loosen the subsoil in the second trench just as you did before. Continue this pattern across the entire bed until you reach the final trench, which you fill with the soil from your first trench. This “double-digging” method ensures the entire bed is evenly loosened and aerated.
6. Rake Smooth After You Till Soil by Hand
When all trenches are filled and the soil has been loosened across the bed, use a garden rake to level the surface. Break up any remaining clods on top and smooth the area so it’s ready for planting. At this point, you can mix in additional compost, fertilizers, or soil amendments as needed.
Benefits of Tilling Soil by Hand
- Better aeration and drainage: Looser soil holds air pockets essential for root respiration.
- Deeper root growth: Plants can reach nutrients and moisture deeper down.
- Less compaction: No heavy machinery to press down the subsoil.
- Enhanced nutrient and water penetration: Water and fertilizers soak in instead of running off.
- Healthier soil life: Earthworms and microbes thrive in undisturbed soil layers.
- Cost-effective: Requires only basic tools rather than expensive machines.
- Ideal for small gardens or raised beds: Perfect for home gardeners who want precision.
Tools That Make Hand Tilling Easier
You don’t need a shed full of equipment to till soil by hand. A few sturdy, versatile tools will get the job done:
- Spade or shovel: For digging trenches and moving soil.
- Digging fork: For loosening and aerating deeper layers without chopping up roots or worms.
- Garden rake: For smoothing the surface after tilling.
- Wheelbarrow or tarp: To temporarily hold soil or transport compost.
- Gloves and sturdy shoes: To protect your hands and feet during the process.
These simple tools are inexpensive and last for years if cared for properly. Read more on other essential tools.
Tips for Beginners
- Work in small sections: Don’t try to till an entire large bed at once. Break it into manageable parts to avoid fatigue.
- Add compost as you go: Mixing in organic matter while loosening soil boosts fertility and structure.
- Choose the right time: Early spring or fall, when soil is moist but not saturated, is ideal.
- Protect your body: Bend at the knees, not the waist, and switch hands regularly to reduce strain.
- Keep tools sharp and clean: A well-maintained spade makes digging easier and safer.
Common Mistakes to Avoid When You Till Soil by Hand
- Over-tilling: Too much disturbance can harm soil structure. Stick to loosening and aerating rather than churning the soil repeatedly.
- Tilling when soil is too wet or too dry: This creates clods or dust that harm soil health.
- Forgetting to remove rocks or roots: Leftover obstacles can damage seedlings or tools later.
- Neglecting amendments: Hand tilling is the perfect time to incorporate compost or slow-release fertilizer.
Aftercare: Preparing the Tilled Soil for Planting
Once you’ve finished tilling, take a few final steps to set your garden up for success:
- Incorporate amendments: Mix in compost, aged manure, or organic fertilizer for added nutrients.
- Allow the soil to settle: Give it a few days before planting to let air pockets stabilize.
- Mulch: Add a thin layer of mulch to retain moisture, moderate soil temperature, and reduce weed growth.
- Plan your planting layout: Now is a great time to mark rows, install irrigation lines, or set up trellises before seedlings go in.
Why Tilling Soil by Hand Is Worth the Effort
Hand tilling takes more time than running a machine, but it rewards you with a garden that’s easier to maintain and more productive. You’ll gain a better understanding of your soil’s texture, moisture, and biology. Over time, as organic matter builds and compaction decreases, you may even need to till less often.
For beginners, this process is also an education. You’ll learn how soil behaves, where water flows, and how roots develop insights that will make you a better gardener overall.
To draw the curtains down, healthy gardens start with healthy soil. By learning how to till soil by hand, you’ll improve aeration, reduce compaction, and create the perfect environment for your plants to thrive. With just a spade, a digging fork, and a rake, you can transform even a tired garden bed into a fertile, living foundation for vegetables, flowers, or herbs.
Don’t wait for the perfect machine or expensive gadget, gather your tools, pick a cool morning, and start hand tilling today. Your soil, your plants, and your future harvest will thank you.